Building a simple Calculator App with HTML, CSS, and JavaScript
Learn how to build a simple calculator app using HTML, CSS, and JavaScript.
Table of contents
A calculator, as we all know, is a simple machine that makes it easier to perform mathematical operations such as addition, subtraction, multiplication, and division. Using core web technologies such as HTML, CSS, and JavaScript, you can create a simple calculator.
In this article, you will learn how to build a calculator application using HTML, CSS, and JavaScript with basic functionalities such as addition, subtraction, multiplication, and division.
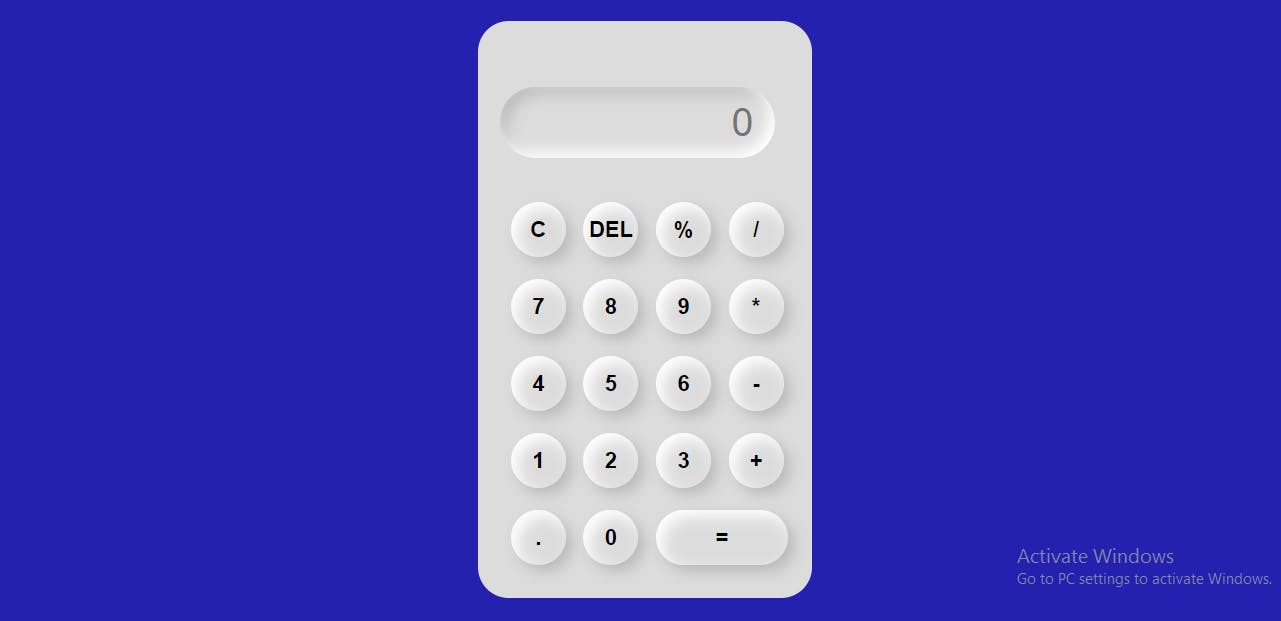
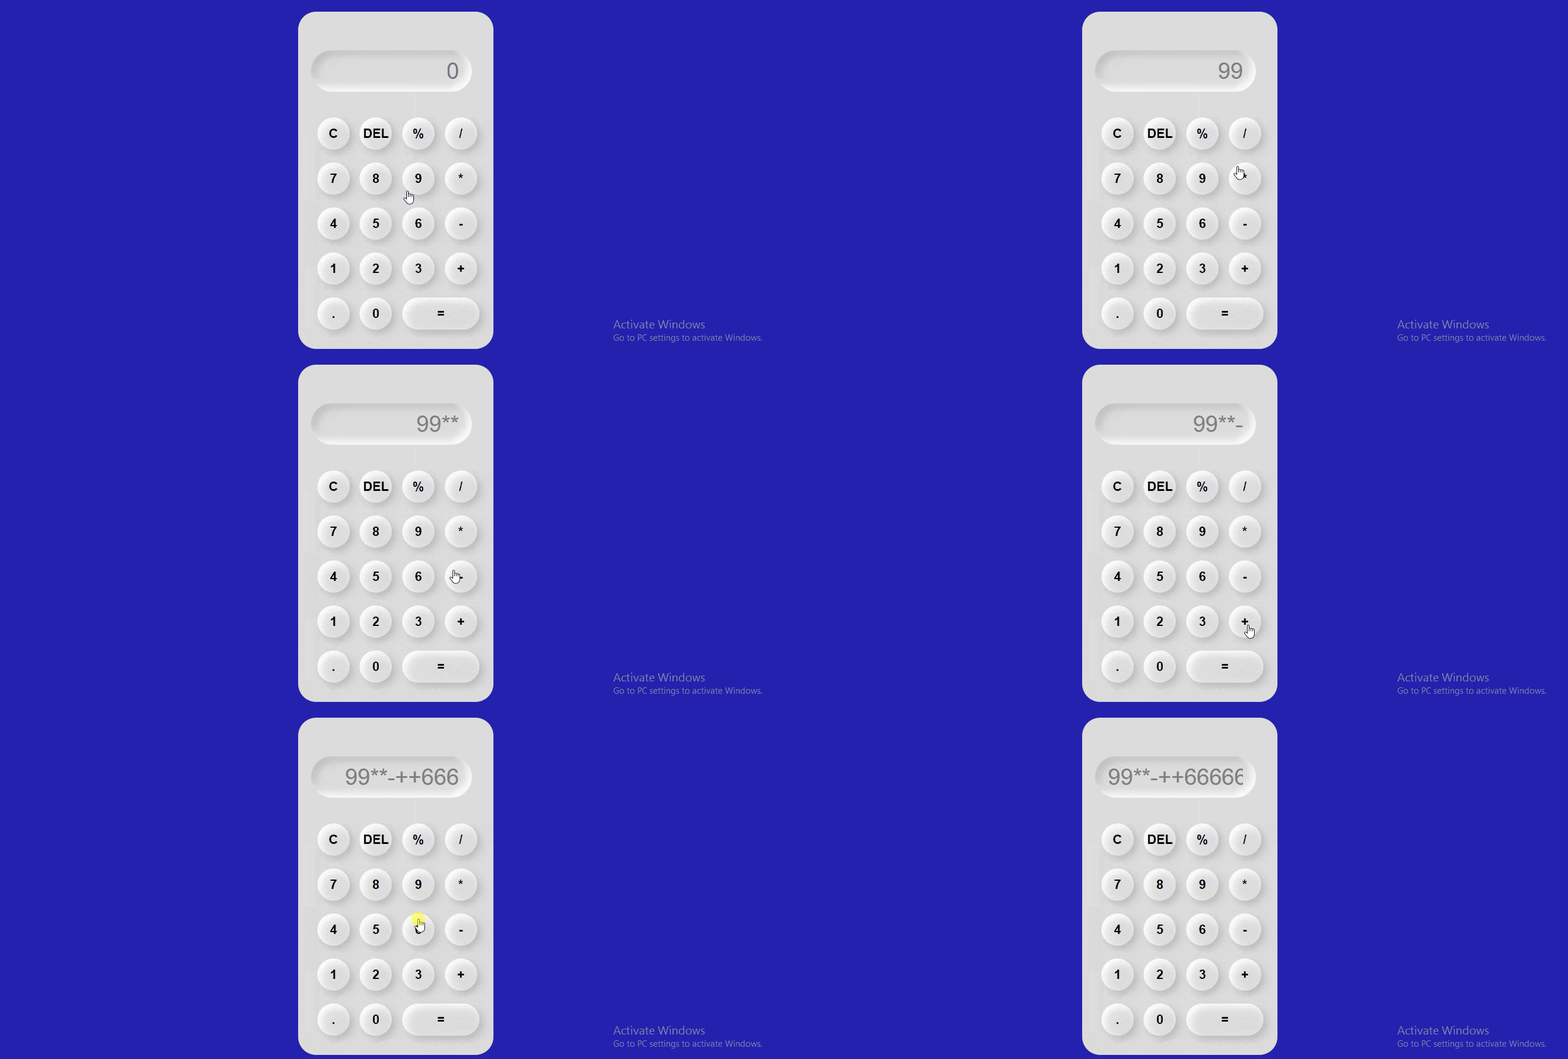
Take a look at the finished application below:

Prerequisites
Basic understanding of HTML, CSS, and JavaScript.
Code editor.
Getting Started
The calculator project contains three main parts which are HTML, CSS, and vanilla JavaScript. Create a folder that holds these files and name it anything you want. For this project, let's call it myCalculator.
HTML
First, open your code editor, create an index.html file in the root folder, and input the following code:
<!DOCTYPE html>
<html lang="en">
<head>
    <meta charset="UTF-8">
    <meta http-equiv="X-UA-Compatible" content="IE=edge">
    <meta name="viewport" content="width=device-width, initial-scale=1.0">

    <!--LINK CSS FILE HERE-->
    <link rel="stylesheet" href="style.css">

    <title>MyCalculator</title>
</head>
<body>
    <div class="container">
        <div class="calculator">
            <input type="text" id="displaytext" placeholder="0">
            <button onclick="clr()">C</button>
            <button onclick="del()">DEL</button>
            <button onclick="calculate('%')">%</button>
            <button onclick="calculate('/')">/</button>
            <button onclick="calculate(7)">7</button>
            <button onclick="calculate(8)">8</button>
            <button onclick="calculate(9)">9</button>
            <button onclick="calculate('*')">*</button>
            <button onclick="calculate(4)">4</button>
            <button onclick="calculate(5)">5</button>
            <button onclick="calculate(6)">6</button>
            <button onclick="calculate('-')">-</button>
            <button onclick="calculate(1)">1</button>
            <button onclick="calculate(2)">2</button>
            <button onclick="calculate(3)">3</button>
            <button onclick="calculate('+')">+</button>
            <button onclick="calculate('.')">.</button>
            <button onclick="calculate(0)">0</button>
            <button class="equalsTo" onclick="Output('')">=</button>

            <!--LINK JAVASCRIPT FILES HERE-->
            <script type="text/javascript" src="script.js"></script>
        </div>
    </div>
</body>
</html>
In the HTML markup, ensure you link the CSS and JavaScript files properly as shown below:
   <!--LINK CSS FILE HERE-->
    <link rel="stylesheet" href="style.css">
 <!--LINK JAVASCRIPT FILES HERE-->
 <script type="text/javascript" src="script.js"></script>
Side notes:
The index.html contains a div with the class name "calculator" which is the parent container that includes some key functions in our application.
Outputdisplays the output of the operation.clrclear calculator display.deldelete the first character beside the location of the cursor.calculatecalculates the number from the numbers you pass in it.
The onClick event executes a certain functionality when a button is clicked.
CSS
Secondly, create a style.css file. In this section, you will apply CSS styling to the calculator app. Let's start by removing the default browser styling by adding:
/*style.css */
* {
    box-sizing: border-box;
    margin: 0;
    padding: 0;
    font-family: sans-serif;
    background-color: #dcdcdc;
}
The complete CSS styles for our project are included below:
/*style.css */
* {
    box-sizing: border-box;
    margin: 0;
    padding: 0;
    font-family: sans-serif;
    background-color: #dcdcdc;
}

.container {
    height: 100vh;
    display: flex;
    align-items: center;
    justify-content: center;
    background-color: #2421AF;
}

.calculator {
    box-shadow: 6px 6px 13px #fff,
                6px 6px 13px #444;
    border-radius:  28px;
    padding: 20px;
    display: grid;
    grid-template-columns: repeat(4, 66px);

}

input {
    grid-column: span 4;
    height: 65px;
    width: 250px;
    box-shadow: inset -6px -6px 13px #fff,
                inset 6px 6px 13px rgba(0, 0, 0, .16);

    background-color: #dcdcdc;
    border: none;
    border-radius: 35px;
    color: gray;
    text-align: end;
    margin: 40px 0 30px 0px;
    padding: 20px;
    font-size: 35px;

}

button {
    box-shadow: inset 6px 6px 13px #fff,
                      6px 6px 13px rgba(0, 0, 0, .16);
    background-color: #dcdcdc;
    border: none;
    border-radius: 50%;
    width: 50px;
    height: 50px;
    cursor: pointer;
    margin: 10px;
    font-weight: bolder;
    font-size: 20px;
}

.equalsTo {
    width: 120px;
    border-radius: 50px;
    box-shadow: inset 6px 6px 13px #fff,
                      6px 6px 13px rgba(0, 0, 0, .16);
    background-color: #dcdcdc;
}
The CSS section is now complete. Let's proceed to the JavaScript section and begin adding logic to our calculator to enable it perform operations.

JavaScript
Finally, create a script.js file for the project in the same root directory.
Let's start with the HTML elements which is required to make this web app function. Using the getElementById method, we will assign only one tag to the appropriate variable.
let displayResult = document.getElementById("displaytext")
As shown in the code snippet above, any value entered in the display text area is collected and saved as displayResult.
To complete the JavaScript section, let's take it one step at a time:
Step 1: Create a function named "calculate."
let calculate = (num) =>{
    displayResult.value += num;
}
Here, the calculate function accepts a parameter called num and updates the value of an element with the id displayResult. Notice that we are using arrow function to add the num supplied as an argument to the current value.

As shown above, this process simply increases the numbers and symbols passed into our display text without performing any operations. We need to add another function and method to help this process handle mathematical operations.
Step 2: Create a "Output" function and convert the values to result.
let Output = () => {
   try {
       displayResult.value = eval(displayResult.value)
   }
   catch(err) {
       console.log("OOPS PLEASE INPUT A VALID NUMBER");
   }
}
The Output function evaluates the result of mathematical operations such as addition, subtraction, division, and multiplication. The eval() method is used by the function to perform the calculation, which takes a string argument, evaluates it, and returns a number.
You'll notice that the Output function is wrapped around a try and catch block in the code above. They are used to handle any exceptions or errors that may occur during the value evaluation process. In this case, if an error occurs in the expression, such as invalid character or multiple characters without number, a catch block is executed with the alert message "OOPS PLEASE INPUT A VALID NUMBER", while the value of the expression is stored in the displayResult.value property, which represents the value of operations perfomed.
Step 3: Create a clear function
function clr() {
    displayResult.value = "";
}
Because the first value is still visible on our screen, performing other mathematical operations may be difficult. We use the clr() function to clear the screen for another computation, which clears the value of an element with the id "displayResult" while its value is set to an empty string.
Here’s what the complete JavaScript code should look like:
let displayResult = document.getElementById("displaytext")

let calculate = (num) =>{
    displayResult.value += num;
}


let Output = () => {
   try {
       displayResult.value = eval(displayResult.value)
   }
   catch(err) {
       alert("OOPS PLEASE INPUT A VALID NUMBER");
   }
}

function clr() {
    displayResult.value = "";
}

function del() {
    displayResult.value= displayResult.value.slice(0, -1);
}
Congrats! You have just created a simple Calculator application.
Conclusion
In this article, we learned how to build a simple calculator Application using HTML, CSS, and JavaScript which can be used to perfom mathematical operations such as multiplication, subtraction, addition, and division. The source code is available in this github repo.
If you found this article helpful, do like and share it with others.
I'd love to connect with you via Twitter.
